Getting Started
“One step at a time” (Slowly and carefully, doing just a little at a time.)
We’ve all heard the saying but it certainly applies to building a new solar setup, especially if you are new to doing this kind of thing. Let’s dive into planning and designing your new system.
Before you rush out to buy a shiny stack of solar panels and slap them on your cargo trailer, you need a plan. I know, planning isn’t nearly as thrilling as firing up your new inverter and running a blender in the middle of the desert, but without it, you’ll either end up with way too much gear you don’t need or not enough to keep your fridge cold. Neither is fun.
How Much Do You Need?
The very first thing you need to do is figure out how much power you actually use. This means taking inventory of every device you’ll be running—lights, fridge, fans, laptops, and yes, that all-important coffee maker. Look at their wattage and estimate how long you’ll be using them each day. Do the math, add it all up, and you’ll have your daily energy needs in watt-hours. It’s not rocket science, but it is the difference between sipping iced coffee in the wilderness and wondering why your milk went sour.
Once you know how much juice you need, it’s time to be honest about your camping style. Some folks are weekend warriors who just need a couple of lights and a phone charger. Others live full-time off-grid, running fridges, water pumps, and laptops. And then there are the glampers, whose power needs mysteriously rival that of a small apartment building. Knowing which camp you fall into will save you from buying either too much system or too little.
Download a worksheet to help figure out your power usage: PDF or Word Document
Modular or All-In-One
Next comes the big decision: modular system or all-in-one power station. Modular means buying all the parts separately—panels, batteries, charge controller, inverter—and wiring them together yourself. It’s a bit of a Lego set for grown-ups. All-in-one systems, on the other hand, cram everything into one neat box. They’re portable, idiot-proof, and can, but not always, cost a bit more for the convenience. One approach is for people who like tinkering with wires; the other is for people who just want to plug in their stuff and get on with their lives.
AC, DC or Both
Then there’s the great DC versus AC debate. Your batteries naturally produce DC power, and DC appliances can run straight off them with minimal fuss, depending on your setup. AC appliances, like the ones you plug into a wall at home, require an inverter and while inverters are great, they also waste a little power along the way. Translation: the more DC gear you can use, the less you’ll be yelling at your batteries for tapping out too soon.
When designing your solar system, it’s important to think about the kind of appliances you’ll actually be powering, because not all electricity is created equal.
DC loads, or direct current, run straight off your battery without any extra fuss if you are using a 12v setup. These are things like LED lights, 12V fridges, fans, water pumps, and USB charging ports—basically the essentials that sip power rather than guzzle it. Stick mostly to DC gear and your system can stay smaller, simpler, and easier on the wallet.
On the other hand, AC loads—the alternating current that comes from standard household outlets—require an inverter to run off-grid. That means microwaves, coffee makers, hair dryers, and laptops all fall into this camp. They’re convenient, sure, but that inverter uses extra energy and demands a beefier battery bank. In short, the more AC toys you bring along, the bigger your solar setup needs to be.
Layout
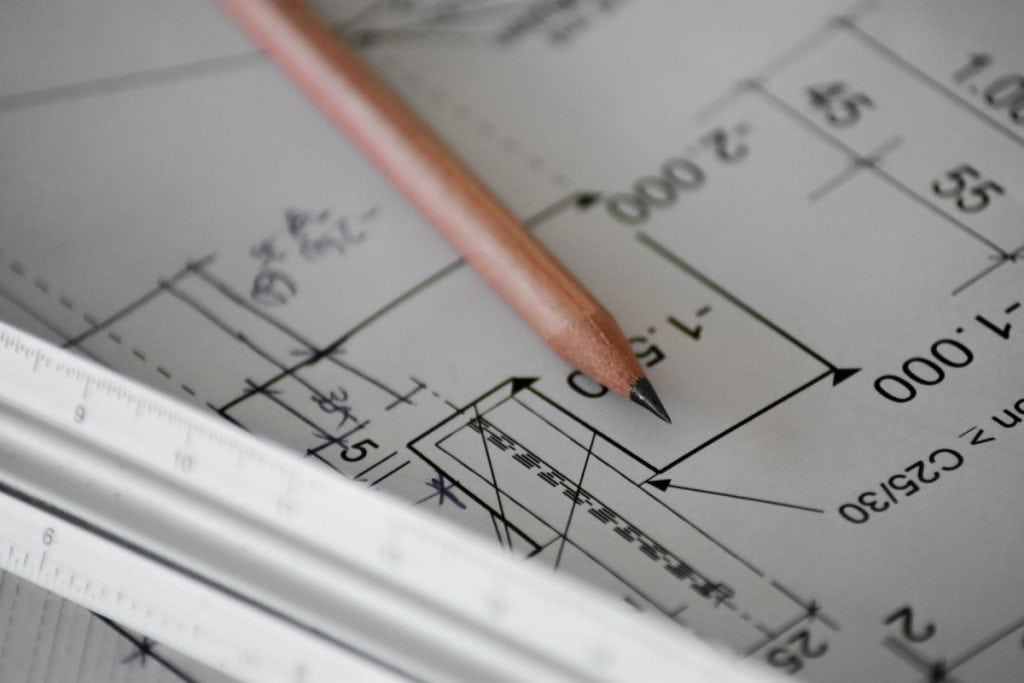
Of course, all of this has to fit somewhere, which is where layout comes in. Even a rough sketch on the back of a napkin can help you avoid future headaches. Think about where the solar panels will go, where the batteries can sit securely without turning into a fire hazard, and where you’ll mount your inverter or power station so it’s easy to reach but not in the way. A little forethought here beats rewiring your rig later because you forgot your storage box lid won’t open anymore. Don’t ask!
Layout Checklist: PDF
Solar Panels
Finally, there’s the choice between fixed and portable solar panels. Fixed panels sit on your roof and quietly do their thing whenever the sun’s shining. Portable panels let you chase the sun while you park your trailer in the shade where it belongs. A lot of campers end up with both—roof panels for steady charging, and portable panels for topping off the system when things get cloudy.
Final Thoughts
At the end of the day, planning and design isn’t glamorous. You won’t impress anyone by saying you spent the afternoon calculating your daily watt-hour load. But it’s this groundwork that makes the difference between a smooth-running off-grid setup and one that leaves you scratching your head while your fridge slowly warms up. Do the boring work now, and you’ll get to enjoy the fun part later: reliable, quiet power anywhere you want to park.

Your turn:
-
When you picture your ideal off-grid setup, do you lean more toward a modular system or an all-in-one power station? Why?
-
Be honest—what’s the one appliance you absolutely refuse to camp without, even if it eats up your battery like candy?
-
Have you ever underestimated your power needs on a trip? How did that work out for you?
-
Do you prefer the simplicity of DC gear, or do you like the convenience of running regular AC appliances?
-
If you had to sketch your solar layout right now, would it look like a professional plan… or a doodle on a napkin with coffee stains?
Leave your thoughts and questions in the comments below. If you have a better way then please help the community by sharing it! (I promise it won’t hurt my feelings.)